How to Prepare Old Photos for AI Animation, Restoration, and Colorization
Prepare old photos for AI animation, restoration, and colorization with practical scanning, selection, and editing tips.
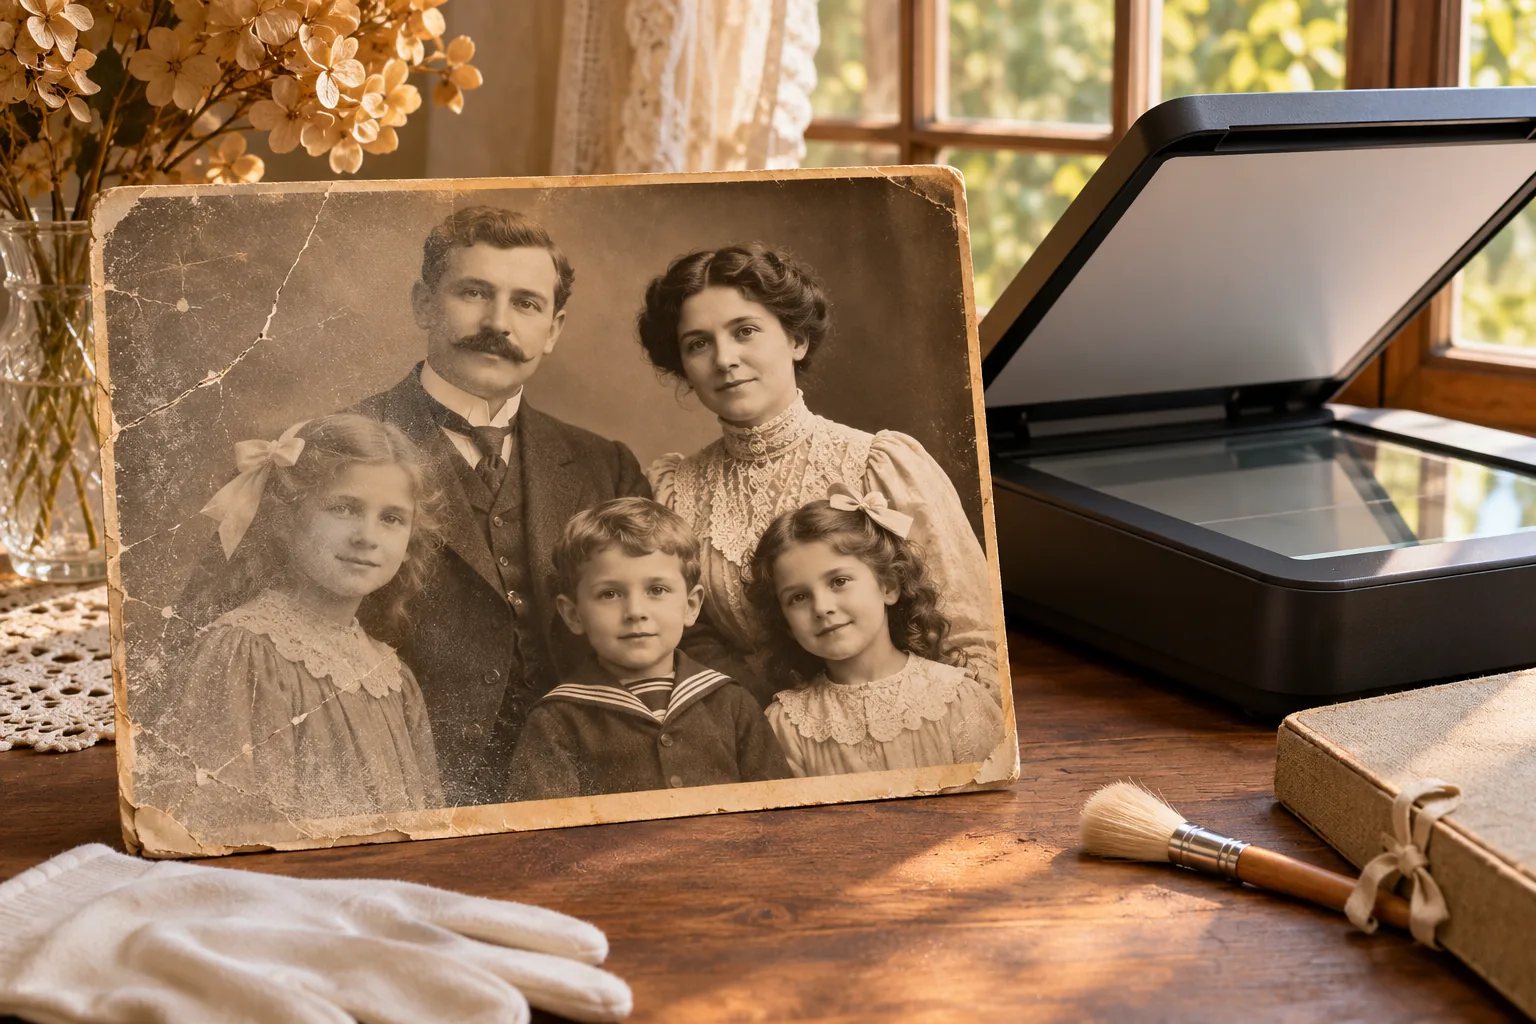
Old photographs carry details that are easy to lose when they are scanned, cropped, or edited. A little preparation can help an AI tool read a face more clearly and give you a result that still feels like the original image. These tips cover AI photo animation, old photo restoration, and photo colorization, though each task benefits from a slightly different kind of image.
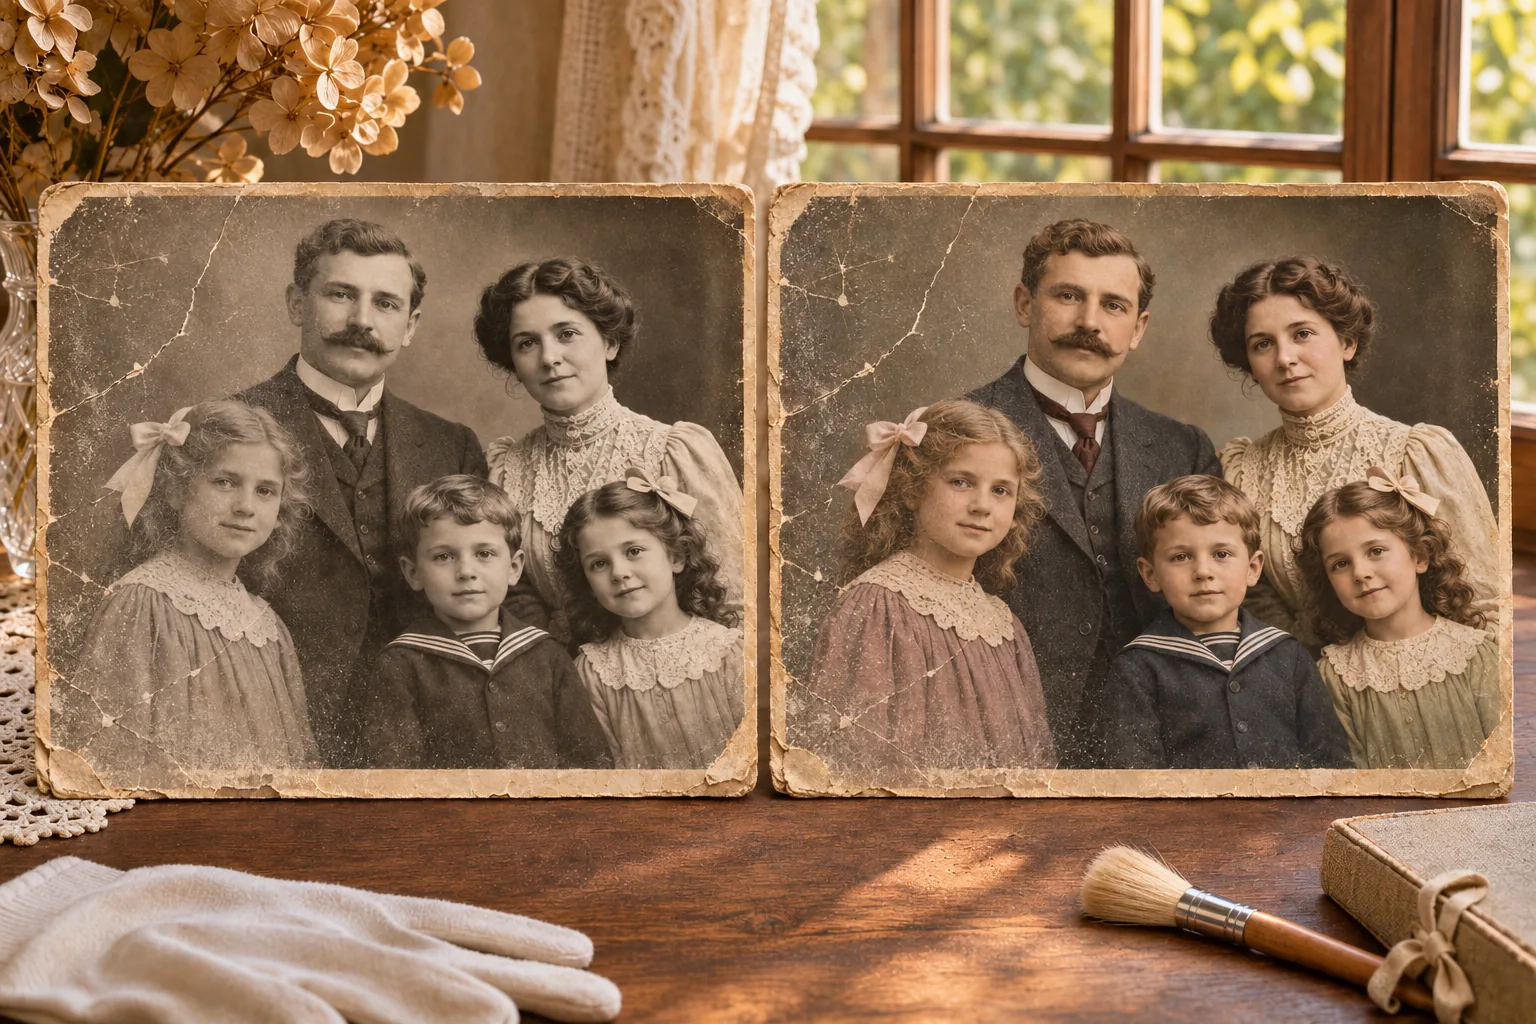
Black-and-white photos have another creative possibility: colorization. It adds estimated color, while restoration focuses on visible damage and image quality. The two processes solve different problems, and generated colors should be treated as an interpretation rather than historical proof.
Start with the best copy you have
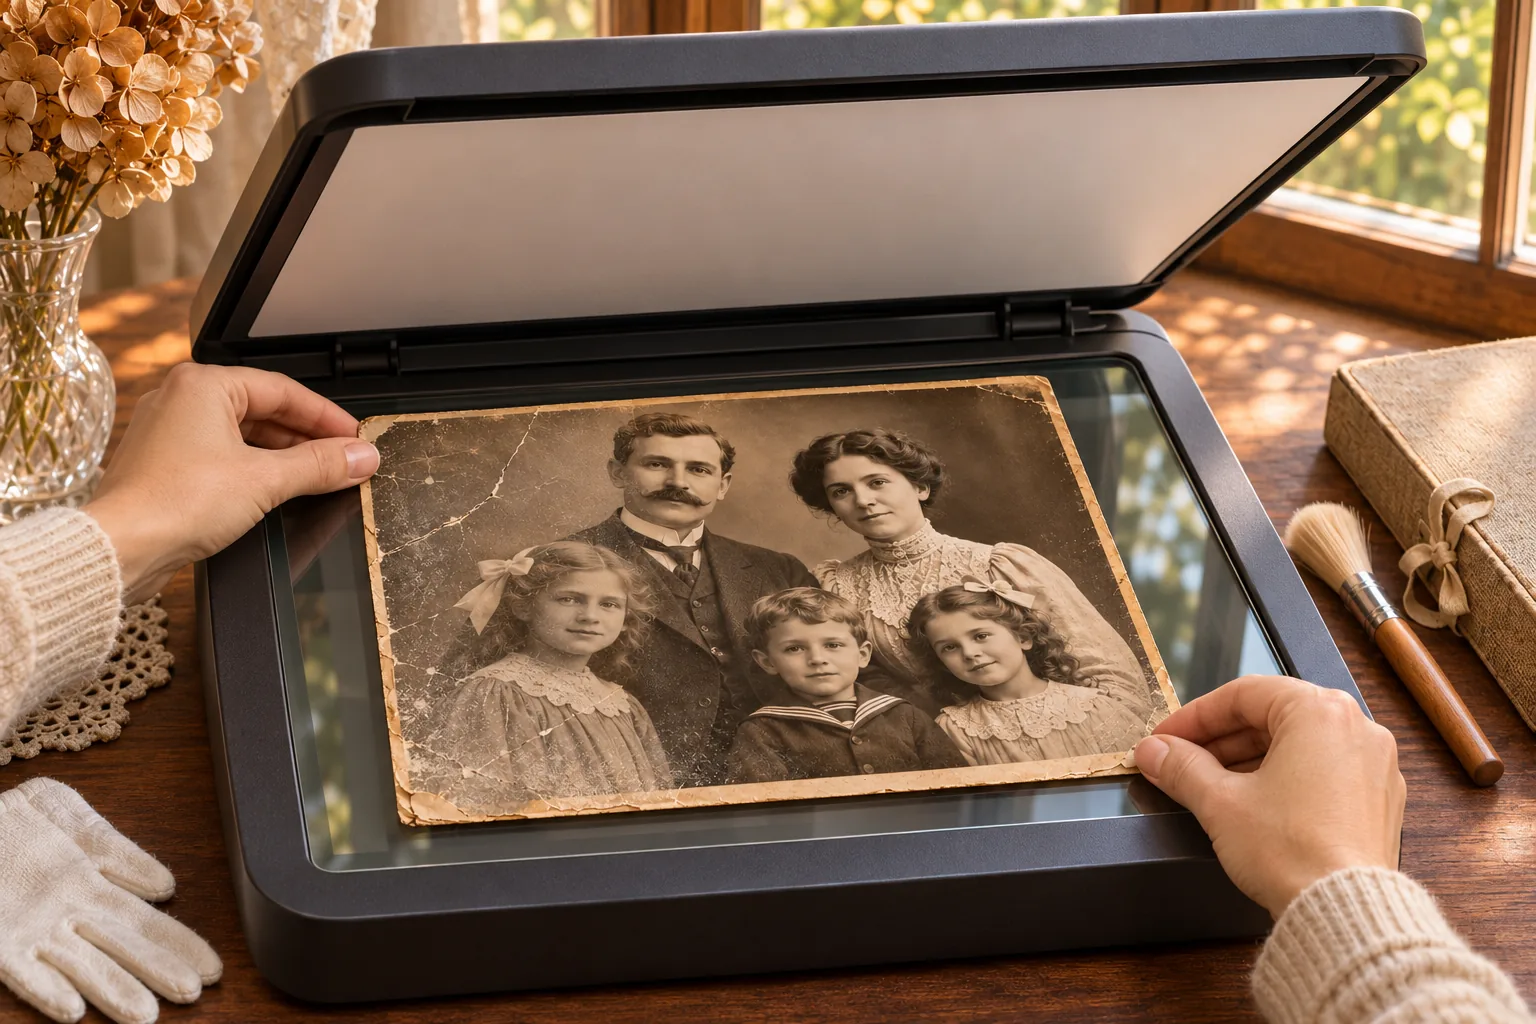
Use the original print or the highest-quality digital copy available. If you are scanning a print, place it flat, clean the scanner glass, and scan in color even if the photograph is black and white. Keep the full image in the scan; you can crop a working copy later.
Avoid taking a screenshot of a photo shown on another screen. Screenshots and messaging-app copies may be smaller or more compressed than the source, which can hide facial detail. Save an untouched copy before making edits so you can always return to the original.
Choose a photo that fits the task
For animation, choose a portrait where the face is large enough to see and the eyes, nose, and mouth are unobstructed. A mostly forward-facing face with even lighting is usually easier to animate than a tiny, turned-away, or heavily shadowed face. A single clear subject is a good place to start.
For restoration, choose the clearest available scan, even if it has fading, scratches, or discoloration. Those are the kinds of visible damage a restoration workflow may help with. If the face itself is missing or covered, an AI system may have to invent details, so review the result carefully.
Make only light edits before uploading
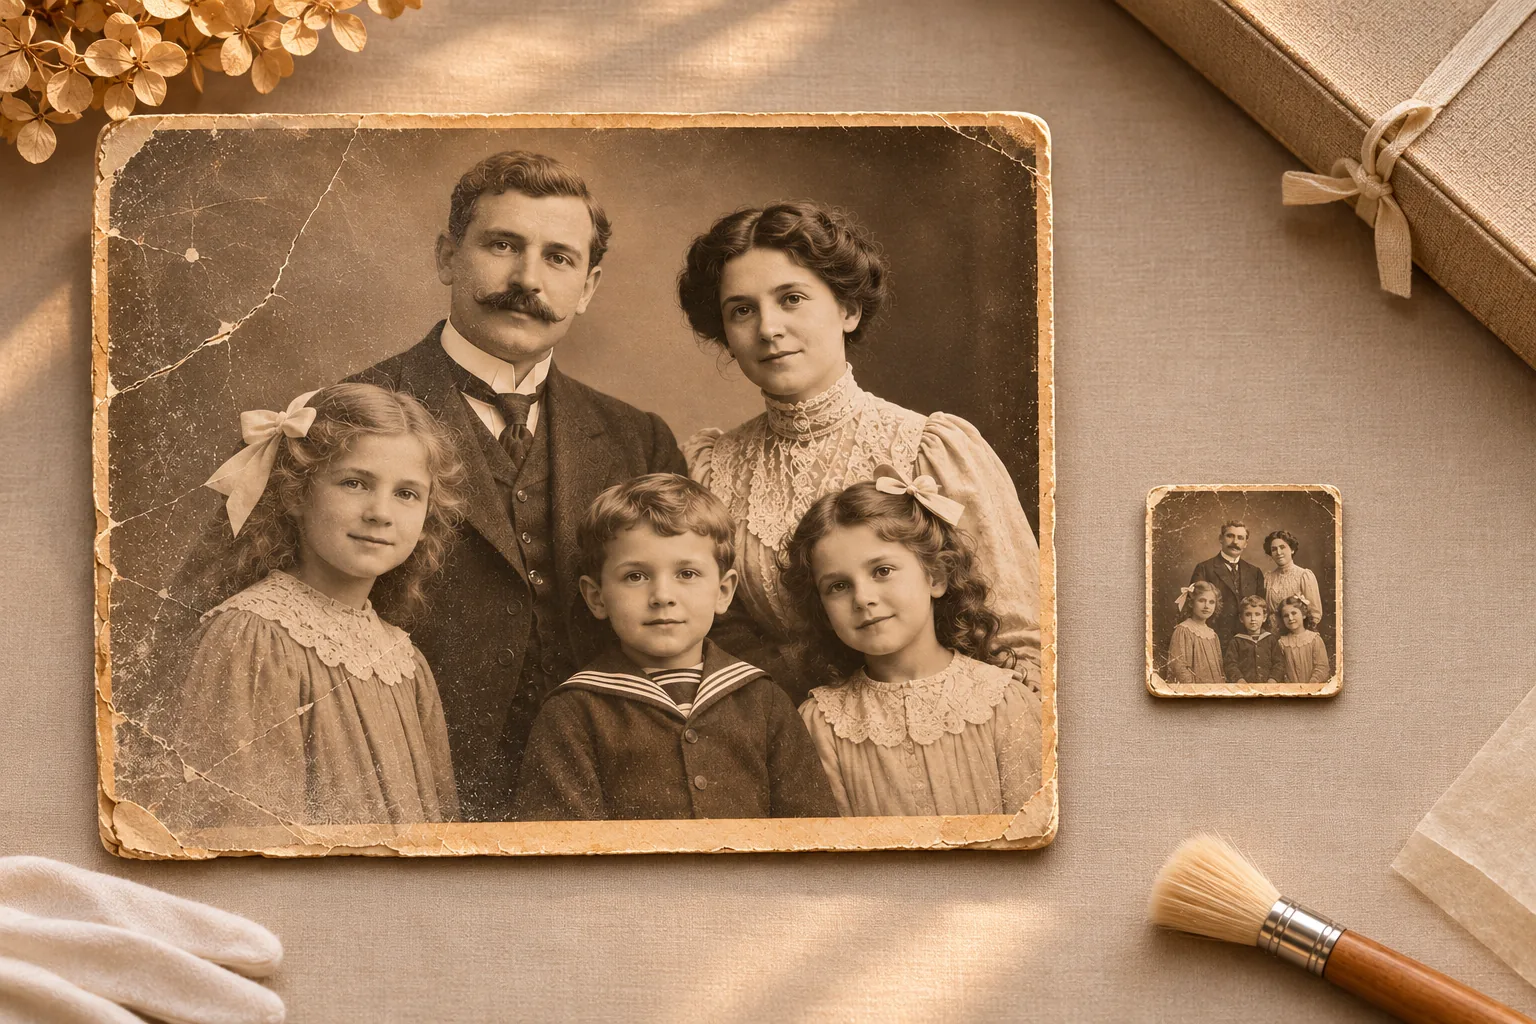
If the scan is tilted, rotate it so the photograph is level. You can crop away scanner edges, but leave a little space around the subject. If the image is very dark, a modest brightness adjustment may help; avoid strong sharpening, filters, or heavy contrast changes that create halos or erase fine details.
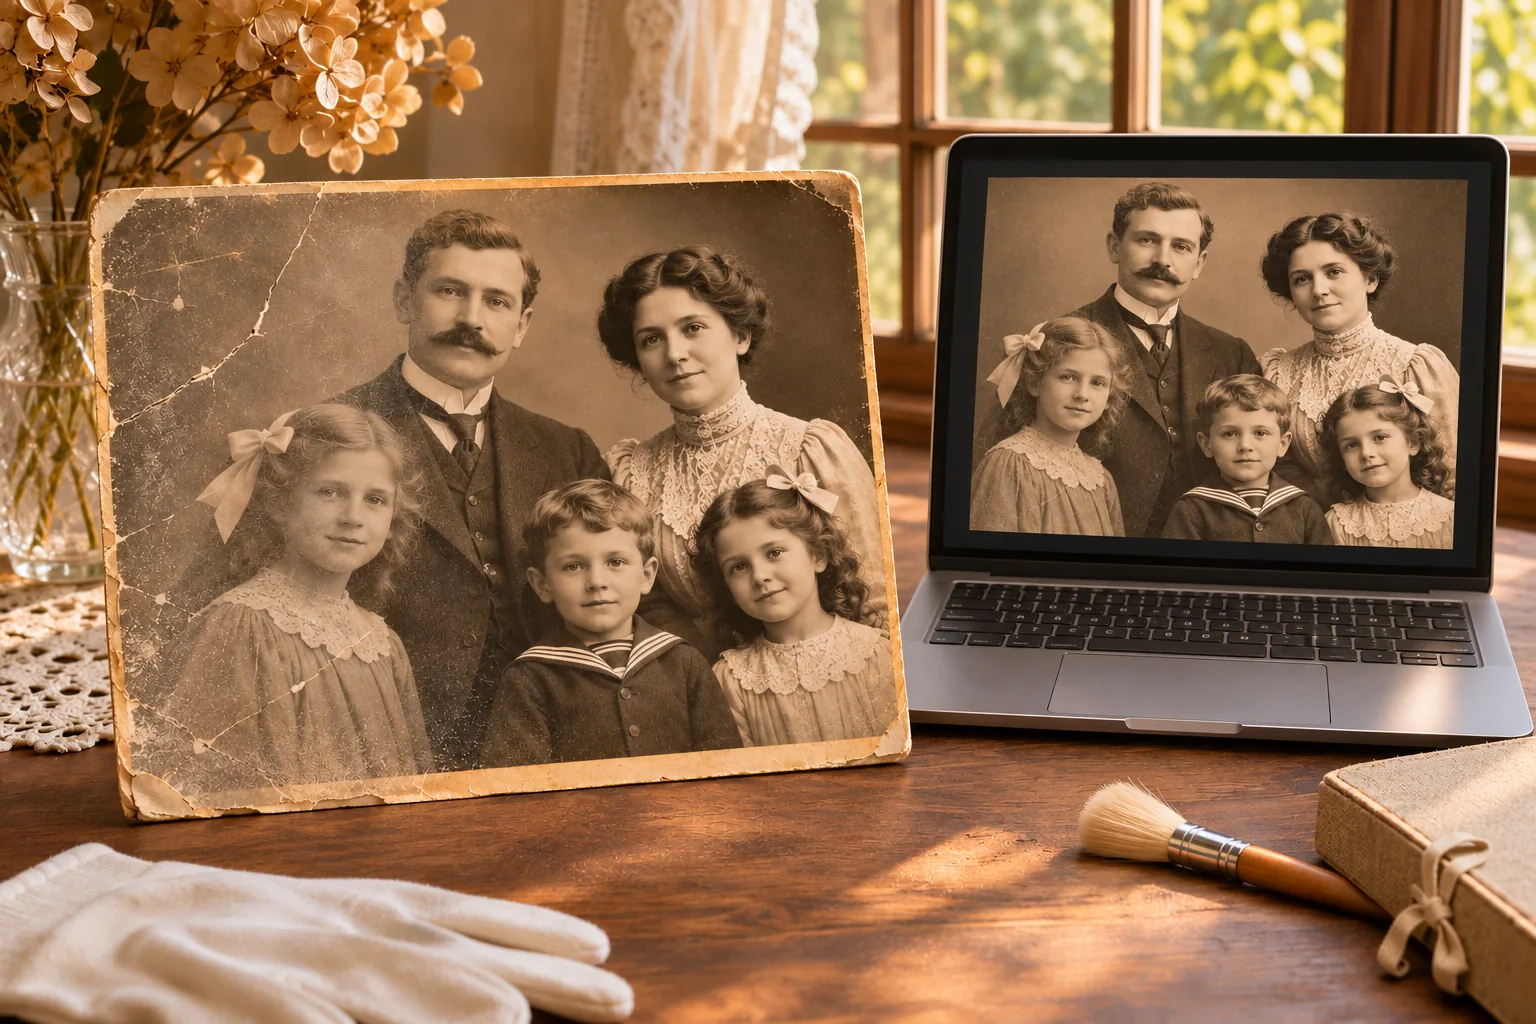
For an animation, keep the face and hair inside the frame rather than cropping tightly around the eyes or chin. For restoration, keep marks and damage in the image if you want the tool to work on them. Removing scratches first can also remove useful texture from the original.
Keep animation prompts simple
Once you have selected a suitable portrait, begin with one small movement. A short instruction such as “smile gently” is easier to evaluate than a list of several expressions and head movements. If the result feels unnatural, try a smaller movement or a clearer portrait.
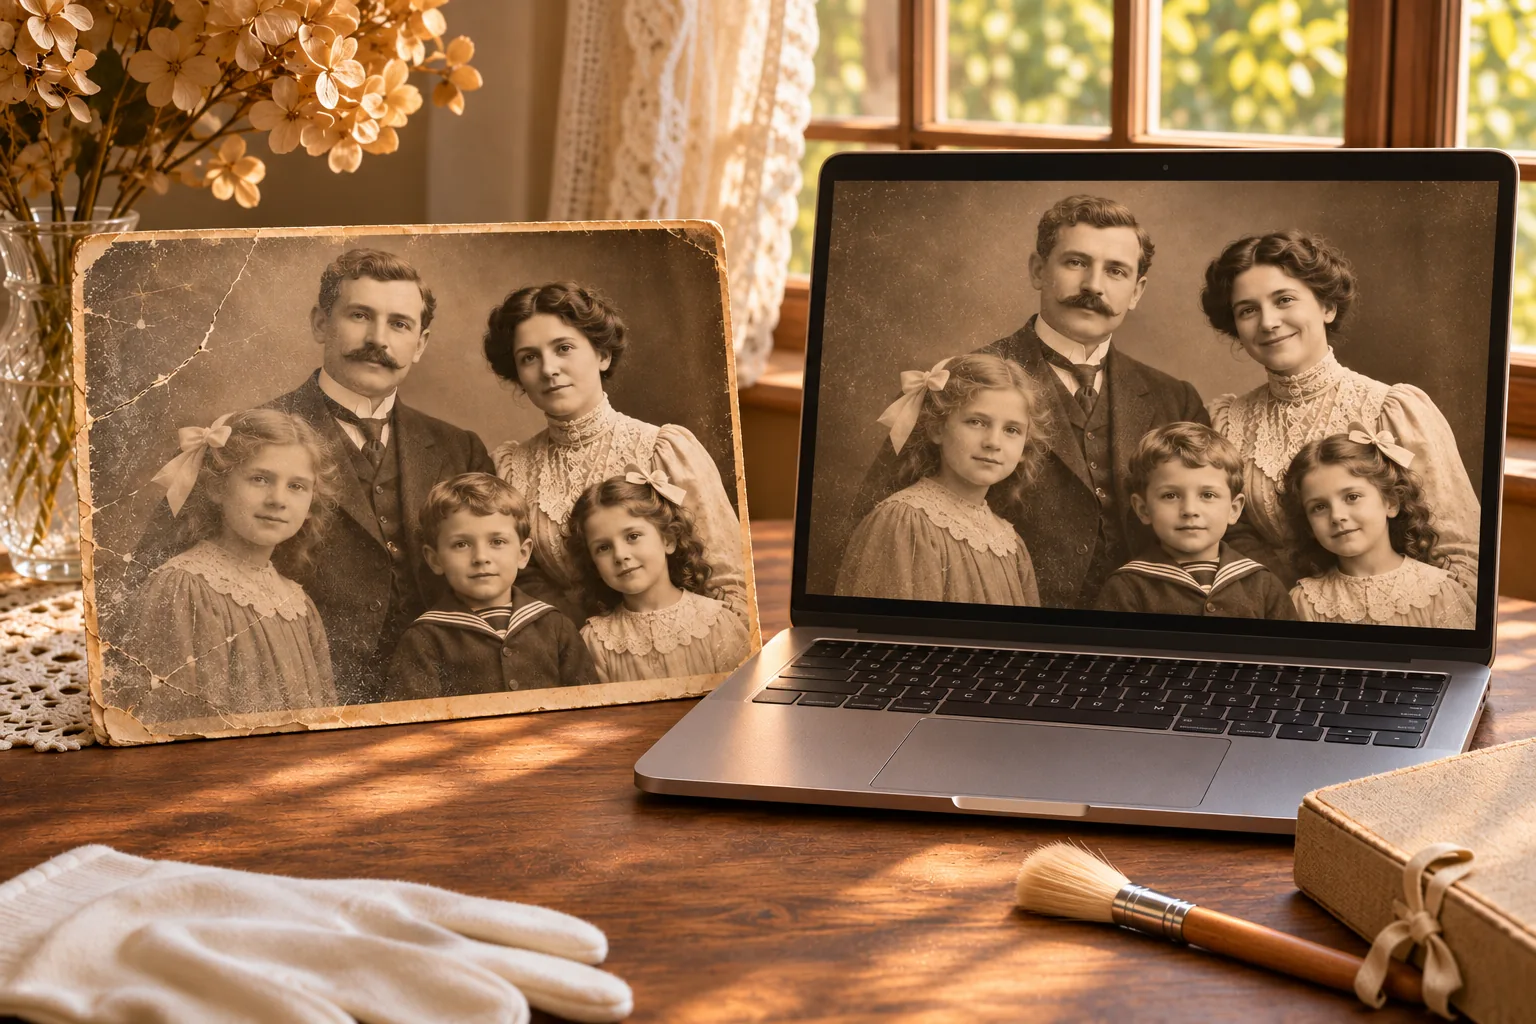
AI animation creates new motion from a still image. It cannot reveal what the person actually did, and a generated expression should be treated as an interpretation rather than a historical recording.
From a photo to a living portrait
This short demo starts with a black-and-white family portrait, brings in natural color over two seconds, then adds gentle movement and interaction. The color and motion are AI-generated interpretations, not historical evidence.
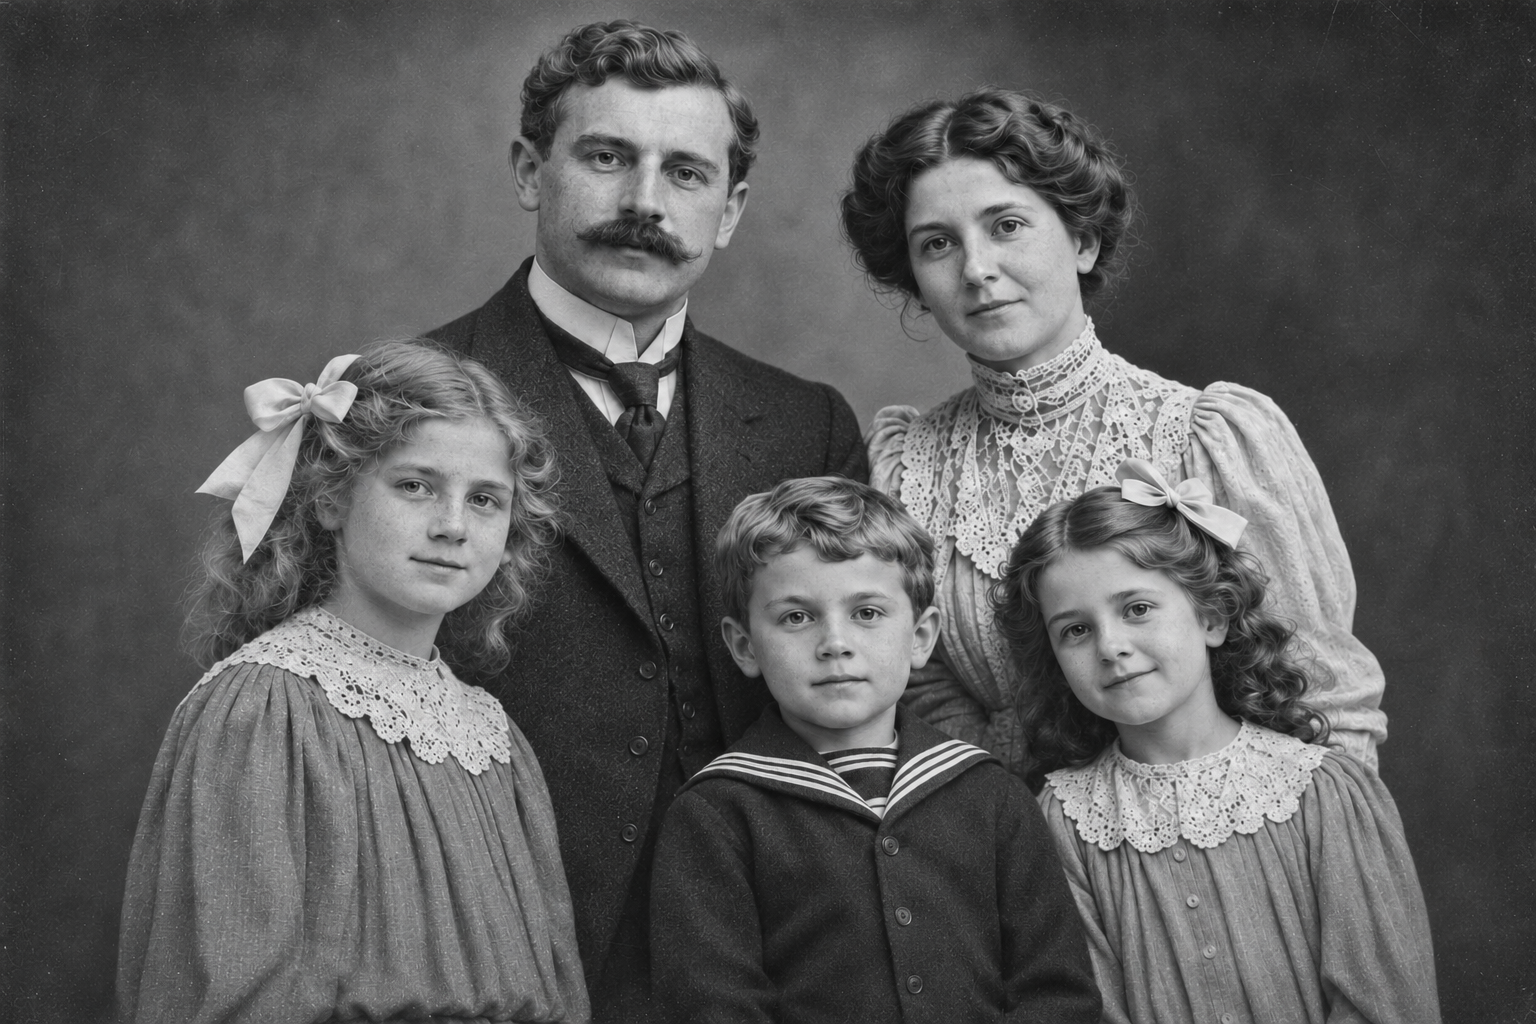
Prompt used for this demo
Create an 8-second image-to-video clip using the supplied black-and-white family portrait as the first frame. During the first 2 seconds, smoothly and naturally colorize the photo in place, preserving its original lighting, texture, faces, and composition. Do not cut, flash, or split the image. After the color transition, bring the family to life: the father looks toward the camera, smiles, and says clearly in English, “Everyone, look this way!” The mother glances toward the children, and the children respond with gentle smiles and natural eye movement. Keep all movements subtle and lifelike. Preserve exactly the same five people, identities, ages, clothing, and positions. End on the living colorized family portrait. No extra people, face distortion, exaggerated motion, or watermark.
Compare restoration with the original
Restoration can make a photograph easier to view, but it may also change texture or infer details that are hard to distinguish in the scan. Keep the original alongside the restored version and compare faces, clothing, and the background. Use the version that best serves your purpose; more smoothing or color is not always more faithful.
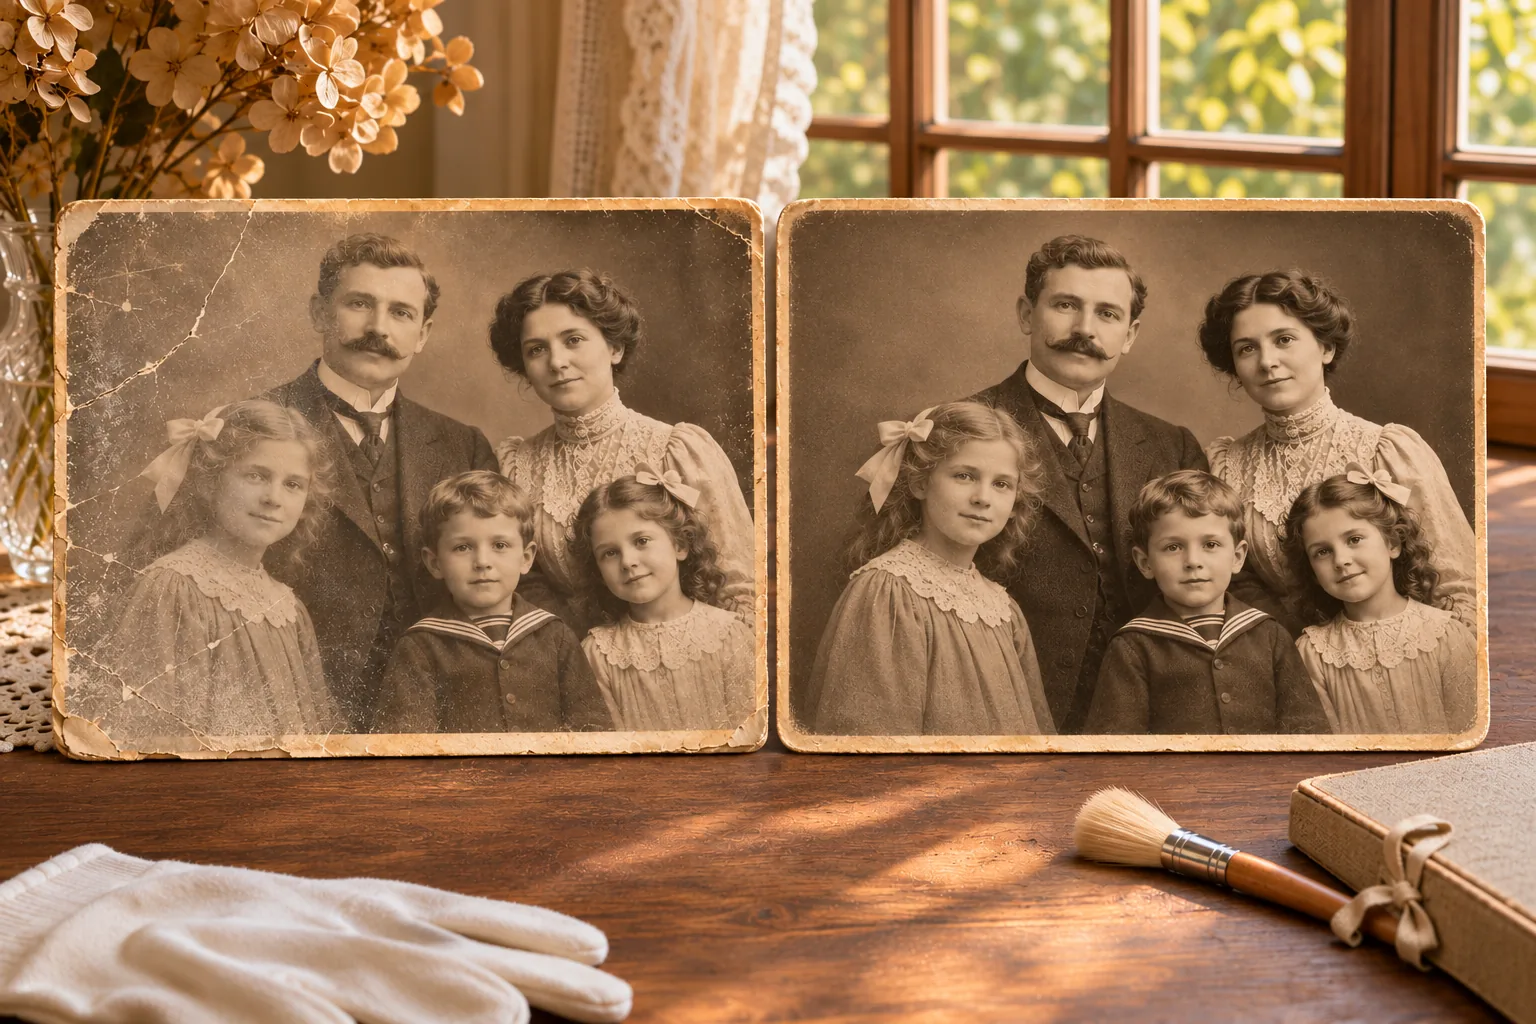
Before you upload: a quick checklist
- Use the highest-quality copy available, and keep the original unchanged.
- Make sure the subject is visible and the face is not covered.
- Rotate the image upright and crop only obvious empty borders.
- Avoid strong filters, excessive sharpening, or repeated resaving.
- For animation, start with one clear face and one subtle movement.
- Review generated changes before sharing, especially for family or historical photos.
When you are ready, try the photo animation generator, photo colorization, or learn more about restoring old photos. The best starting image is not necessarily perfect; it is simply the clearest, most complete version you can find.